MYSTERY SHOPPING EVENT
Mystery Shopping Discountand Gift Weekendfrom Alyssa Smith Jewellery 3 days, 3 amazing things to pick from! Will you pick a
Free UK delivery on orders over £50
Free international delivery - spend £140 (U.S. £150*)
Beautifully made in the UK
Cherished by our collectors around the world
With love from Alyssa
Exquisitely made and beautifully packaged

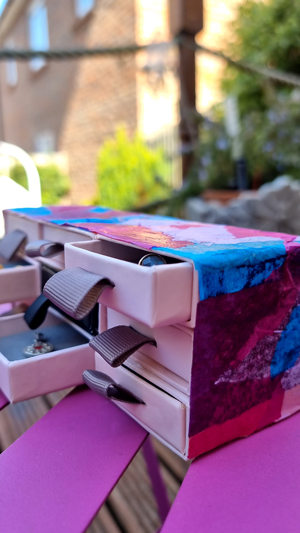
Sparkle Queen Alyssa’s gorgeous DIY jewellery storage box!
Say hello to upcycling at its finest! We just hate just throwing things away when it’s possible to give something a whole new life, and so we’re always looking for ways to re-purpose or re-use where possible. If you are a fan of our gorgeous jewellery, then you may be wondering what to do with the collection of lovely little drawer boxes you may have accumulated over time. The good news is that it doesn’t have to be something that just piles up in your drawers taking up room, and you don’t need to pop them in the recycling if you are finished with them either! Here is our favourite upcycling project for re-using your jewellery boxes, it’s also a pretty fun project to get stuck into as well! You can even do this in the Autumn and Winter as it isn’t Summer specific- this can be enjoyed all year round!
Your Alyssa Smith Jewellery drawer boxes (assorted designs and colours are fine!)
PVA glue and a little paintbrush or glue dabber
Coloured tissue papers-you will need a base colour such as plain white or a pale colour as well as the tissue paper (or papers!) you want to use for your project
A study table with lots of room on it- you will want to spread things out a bit when you are doing this!
Clear varnish if you would like to give your project a top coat

An old collection of the jewellery boxes we send out in our orders!
Glitter, sequins or sparkles to add to the top layer of your design once you have finished papering your boxes
Foam feet (little round stickers) for the bottom of your drawers
1. Gather all of your ASJ drawer boxes and take the inner drawers out, putting those to one side (don’t lose them!)

Start by removing the inner draws and putting them all to one side for later
2. Decide what shape you want to make for your little mini chest of drawers. Do you want your storage unit to be tall? Then you may wish to consider 2 boxes wide by 8 tall? Would you rather it be wide? You may want to have your drawers 4 boxes wide by 3 or 4 rows tall? The choice is yours!
3. Lay down some tissue paper as the glue can be quite messy, and start with your bottom layer of drawers, use your PVA glue and chosen paint brush to glue your bottom layer of drawers together, making sure you keep them as straight as possible. Once they are dry, they will be stuck in the position they are in! It will be the sides of the drawers to glue together on the bottom layer. Ensure all of the drawers are facing the same way. Leave to dry fully.

Grab your glue and get to work!
4. For the next layer of drawers, you will need to do the same again (repeat step 3) gluing the sides together. Repeat this step until all layers are glued together at the sides. Don’t glue the separate shelves together yet.

Glue the sides of your boxes together
5. Only once each individual layer of drawers is fully dry will you be ready for the next step, gluing each layer together (upwards). Start with your bottom set of drawers and make sure the PVA glue covers the entire surface of the boxes (where the logos are!) and then carefully set your next layer onto the top of this. You should now have 2 layers! Wait until it is dry to glue more layers.

6. Repeat step 5 until you have glued all of your levels together. The top set of drawers will not need gluing. If you have a heavy book, then set the book on top of the very top layer of drawers to help set all of the layers in place and leave until dry!

Our jewellery boxes all glued together and ready for the best part… decorating!
7. Now comes the fun part- decoration! Only move onto this stage once you are sure the drawers are fully dry. We recommend leaving them overnight to make sure they are properly dried out and to ensure you get the best results!
8. It’s time to get creative! We are now going to work on the design of your chest of drawers. We will start by covering every side of your drawers with your ‘bottom layer’ of tissue paper (either plain white/cream) but do not tissue paper the front of the boxes where your drawers will slide in. Papering the underneath of your box is optional (we didn’t bother!)

Alyssa with her gorgeous tissue paper of choice!
9. Start by ripping tissue paper into small manageable chunks and gluing them to your drawer surface. Lots of glue is recommended and this job is quite messy! It is easier to do it in stages and wait for a couple of sides of the boxes to dry before tackling other sides of the boxes. Paste your glue across the surface of the box and carefully place your tissue paper on top. Then go over the tissue paper with your paintbrush and glue again.

Gluing the first couple of layers of tissue paper to the top and sides of the box
10. Repeat step 9 until all your edges are papered and you can no longer see the box colour. It’s quite a time consuming job so you may want to do it in stages. You should not need more than 2 layers of base tissue paper.

Ensure you have good tissue paper coverage (so the box colour is fully covered!)
11. Once completely dry, it’s time to think about your design! If you would like your drawers to be a single colour then fire away- you can gently rip your tissue paper into small manageable chunks and get gluing! If you would rather use several types and colours of tissue paper (even patterned tissue paper) then take all of your tissue papers and rip into manageable strips, squares and triangles, layering alternate colours across the box surface to build your design.
12. Repeat again until you are happy with the design. Once you think you have papered enough then dib-dab a final layer of glue on the surface. This is the perfect time to add glitter or embellishments to the design if you want to do that! If not, just leave to dry!

Alyssa adding the finishing touches to her project!
13. Once completely dry, it is optional to use a top coat of clear varnish on your design before inserting your drawers. Then you’re done!
14. If you’re into decoration, then the next part of this project is for you! When you reach step 12, you can take your glitter (you can even use the biodegradable glitter which comes inside our boxes!) or other embellishments such as sparkly rhinestones to decorate your design. We only recommend decorating the top and sides, since the back and underneath won’t be seen. Leave to thoroughly dry.
15. If you would like to put foam feet onto the bottom of your drawers (one in each corner) then you can do this once the design is fully dry!
Once you have let your design dry, you can pop your drawers in with or without the little foam inserts. The foam inserts are a great way for keeping your pieces fully organised inside each drawer but you could always remove them on some of the drawers if you needed more space.
Pop your new chest of jewellery drawers in your favourite space and you are away!
Enjoy this lovely project and please do send any of your own little jewellery storage creation piccies over to us, and don’t forget to tag us on social media (@Alyssajewellery) so we can see your projects in all their glory!

Founder, Director and Jewellery Chief Elf Designer Maker · Alyssa Smith Jewellery

Mystery Shopping Discountand Gift Weekendfrom Alyssa Smith Jewellery 3 days, 3 amazing things to pick from! Will you pick a

rETURN YOUR BRANDEDBOXES TO RECEIVELOYALTY POINTS This incredible project has been in the works for some time – Help us

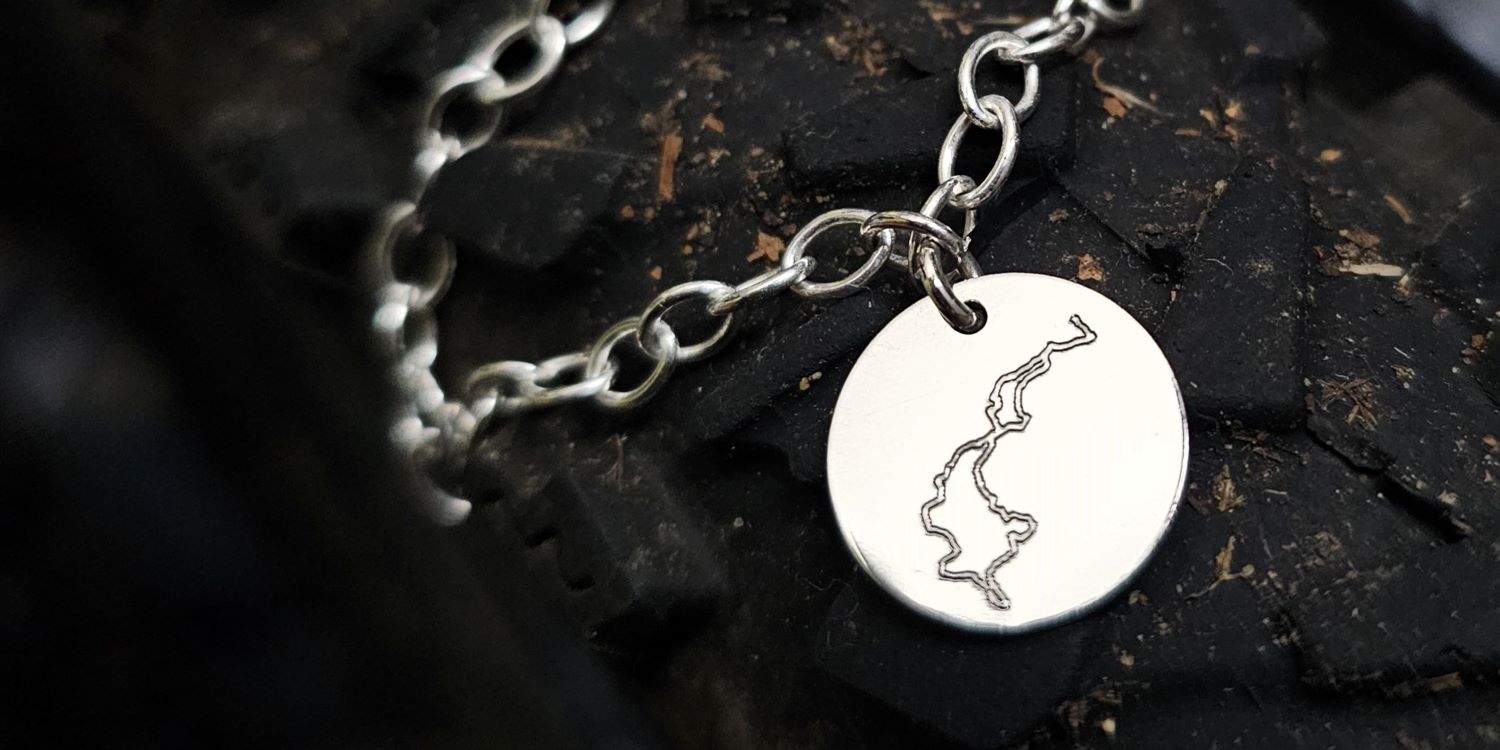
INTRODUCING…GPS ROUTE MAPMINI MASTERPIECES! This incredible project has been in the works for some time – it’s time to bring
5 Things I would have told my teenage self 5 pearls of wisdom Alyssa would tell herself with a time-turner!
|
Uploaded
Failed
|
 |