
MYSTERY SHOPPING EVENT
Mystery Shopping Discountand Gift Weekendfrom Alyssa Smith Jewellery 3 days, 3 amazing things to pick from! Will you pick a
Free UK delivery on orders over £50
Free international delivery - spend £140 (U.S. £150*)
Beautifully made in the UK
Cherished by our collectors around the world
With love from Alyssa
Exquisitely made and beautifully packaged
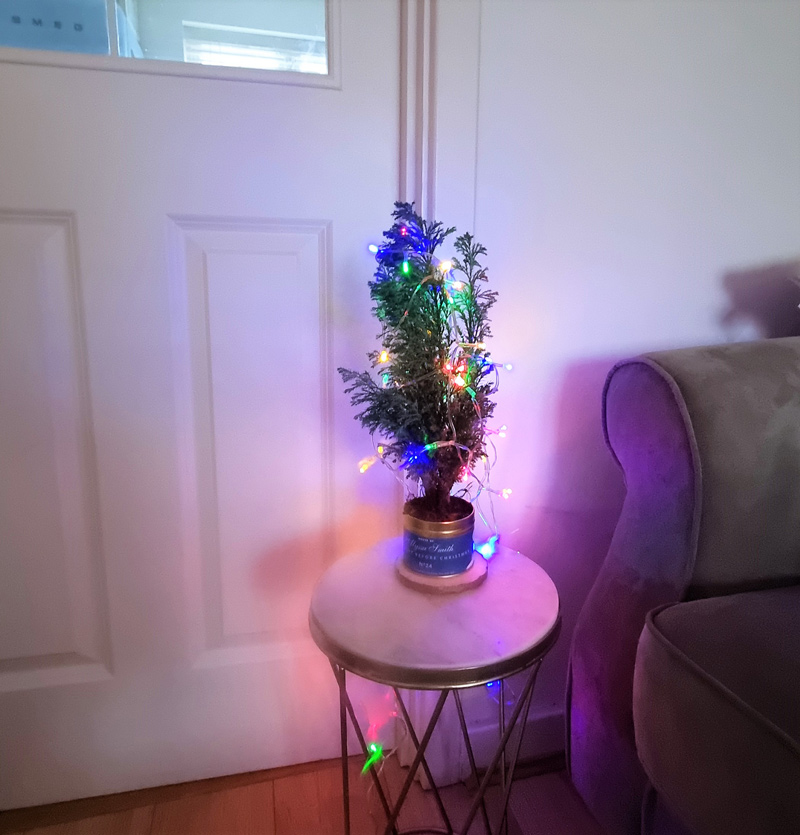
Say hello to upcycling at its finest! We hate just throwing things away when it’s possible to give something a whole new life and are always looking for ways to re-purpose or re-use where possible. If you are a fan of our gorgeous candles, you may be wondering what to do with the tin when your candle comes to the end of its original life?
The good news is that it doesn’t have to be the end of a good thing! There are lots of ways to re-use your tins when your candles have been used up. Here’s our favourite upcycling project for the festive season! You can do this any time of year as long as you use a suitable bloom or plant (and even small cactus and succulents work too!).
Optional:
Ribbons to tie round your tin
Tag to write the contents of the tin on
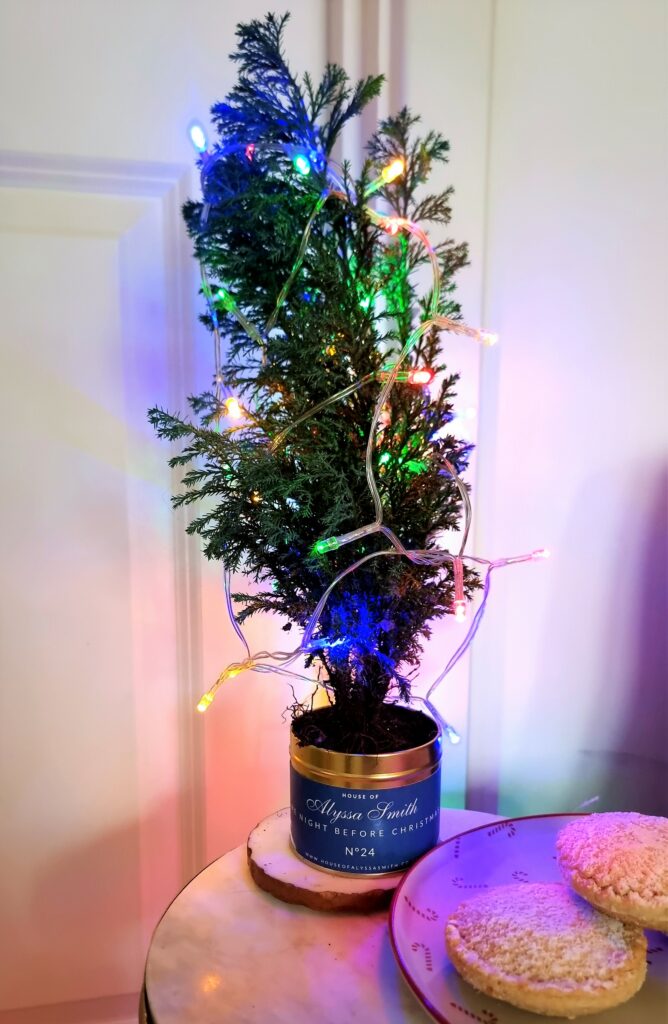
We would say the very first thing to do here is pour yourself a glass of your favourite festive tipple (mulled wine? Baileys?) but obviously this step is completely optional! We’re partial to a hot Ribena here at Sparkle Towers… so the drinks choice is all yours!
Set aside the mini tree (or alternative!) you are going to use, together with a small amount of compost for the tin.
Once your tin is dry, carefully mark the underneath of the tin with a permanent marker in 2-3 places, evenly spaced around the tin. Take one of the nails and hammer and gently tap the areas where you have used a marker pen to slightly dent the tin. This will make it so much easier to drill your holes through the bottom of the tin.
Alyssa’s Top Tip: “Remember to drill some holes in the bottom of your candle tin to allow the water to drain!”
4. Take your drill and let the dented marked areas guide you to drilling a few small holes into your tin. (Please be careful with this step, it does require a steady hand. Please get someone to help you if you do not feel confident with a drill. They are not a toy!) This part of the project is very important as it allows the water to drain from the pot once your little tree is planted and in place. Without doing this, your tin may become waterlogged, mouldy and damp- and that’s not very nice!
5. Once you have drilled your holes, pop the tin on a flat surface. It’s a good idea to cover your table or surface in newspaper as soil can be a bit messy! Carefully spoon your soil into the bottom of your candle tin, pop the roots/your tree into the tin and then pack the sides with soil so your tree is nice, compact and sturdy inside. It’s quite fiddly so you may want to get your hands involved, and pat down with a little teaspoon.
6. Pop your tin on your candle plate or small side plate for it to stand on
7. It’s time to water! Don’t go too mad, just make sure the soil is damp all over. You can now pop your little Christmas Tree tin on your windowsill or table, or continue to the next step!
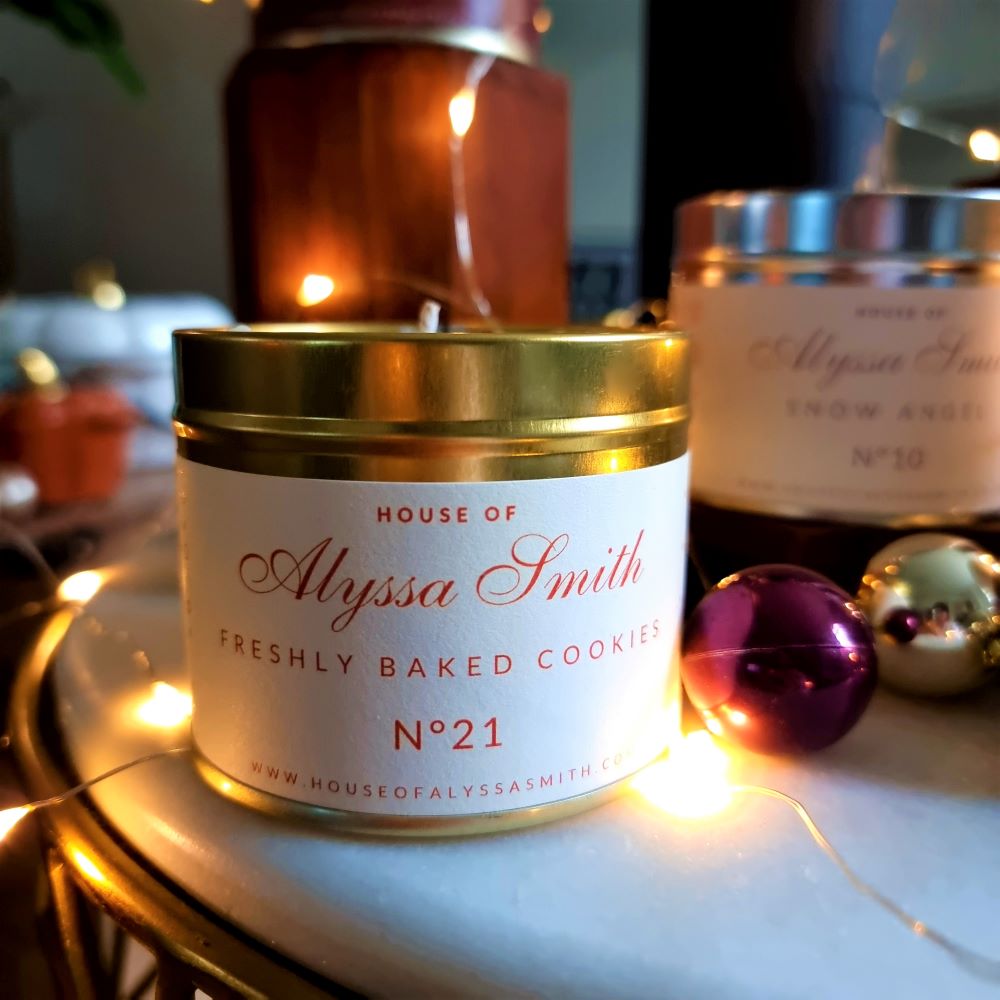
Our candles are made to be burned, loved…and given a new lease of life!
Optional Steps
If you’re into decoration, then the next part of this project is for you! This is the perfect time to get creative! Ideas…loading!
Last, but by no means least…
Keep a close eye on your little tree and make sure you water it regularly and gently. After Christmas, it is a good idea to ‘pot’ your tree on so it doesn’t outgrow its little pot. We suggest potting on in a pot double the size (width and depth) as the candle tin to allow sufficient room for your tree to grow…next year, this tree should be a little bigger and could become a little outdoor tree to pop next to your front door!
We hope you enjoy this festive little project and please do send any of your own little Christmas tree tin piccies over to us. Don’t forget to tag us on social media (@Alyssajewellery) so we can see your projects in their full festive fun!

Founder, Director and Jewellery Chief Elf Designer Maker · Alyssa Smith Jewellery

Mystery Shopping Discountand Gift Weekendfrom Alyssa Smith Jewellery 3 days, 3 amazing things to pick from! Will you pick a
rETURN YOUR BRANDEDBOXES TO RECEIVELOYALTY POINTS This incredible project has been in the works for some time – Help us
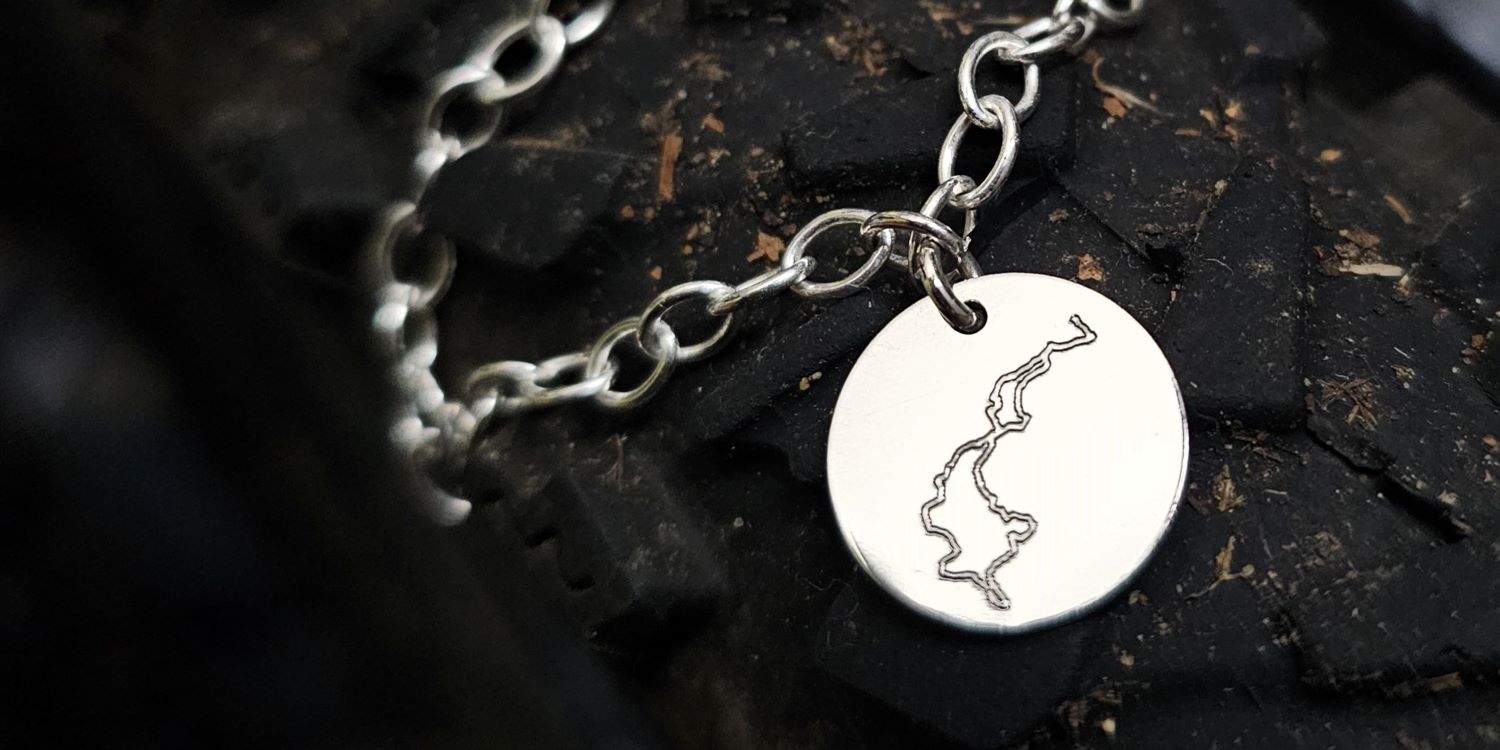
INTRODUCING…GPS ROUTE MAPMINI MASTERPIECES! This incredible project has been in the works for some time – it’s time to bring
5 Things I would have told my teenage self 5 pearls of wisdom Alyssa would tell herself with a time-turner!